Create a New Cohort and Assign Users to a Cohort v2

You need Admin access to be able to perform this action.

Cohorts are site-wide or course category-wide groups. The purpose of cohorts is to enable all members of the cohort to be easily enrolled in a course. This can be done using Cohort sync, which, as the name suggests, synchronises cohort membership with course enrolment. Alternatively, a cohort can be manually enrolled in a course.
Create a new cohort
This will show you how to create a new cohort.
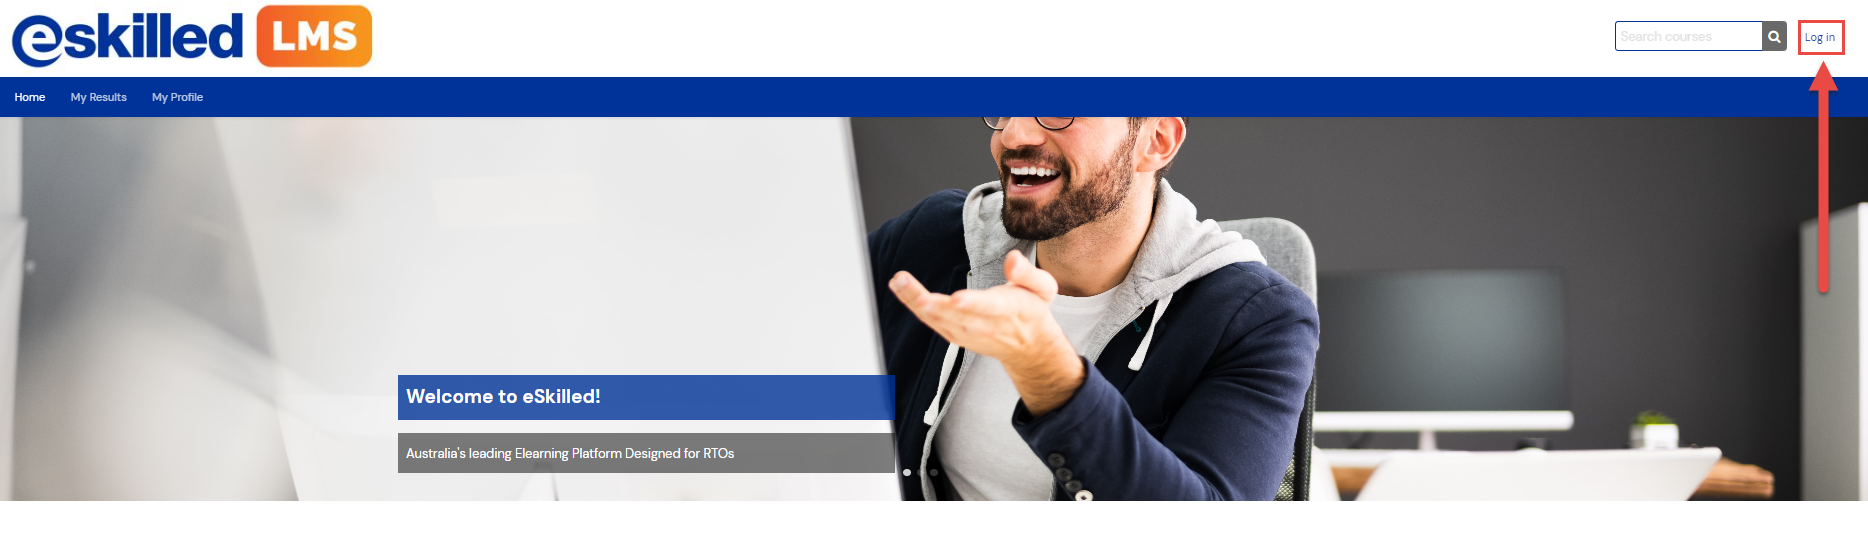
Step 1: From the Home Page, Login using your Admin credentials.
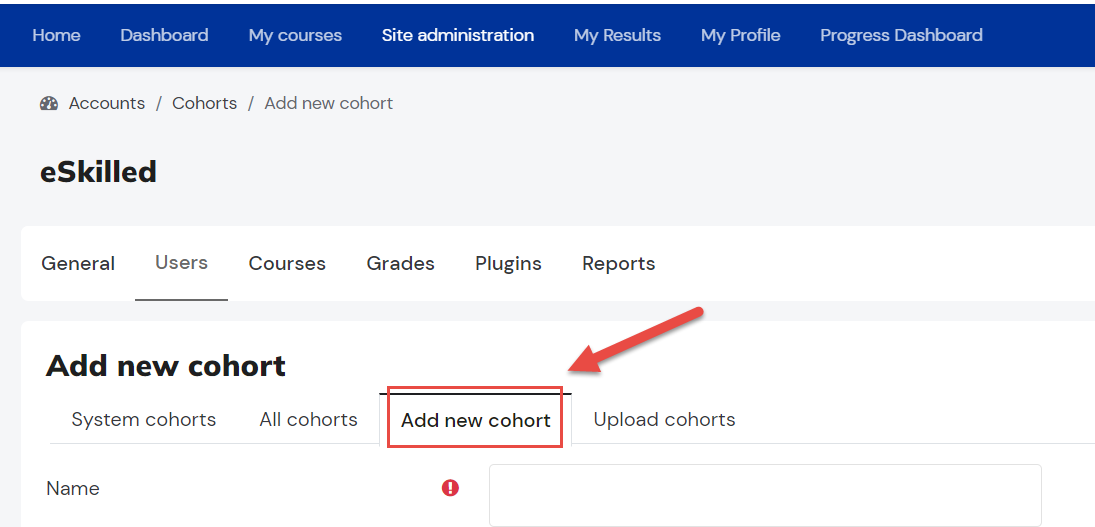
Step 2: Once logged in, click the Site Administration on the menu bar.

Step 3: Select Users, then Cohorts.
Step 4: On the Cohorts page, click on the 'Add new cohort' tab. Existing cohorts will appear on the 'System Cohort' tab.
Step 5: Fill out the information needed and adjust the settings for the cohort.
|
Name* |
(Mandatory field) enter the desired name of the Cohort in the Name text box.
|
|
Context |
If the Cohort / Team is going to be top level cohort (not a sub-cohort of an already existing cohort, select System in the Context drop-down. If your Cohort / Team is going to be a cohort within a specific course category, from the drop down select the course category that this new cohort will become a cohort of. |
|
Cohort ID |
If your cohort has an ID number, you can enter this here. This is an optional field, if there is no ID, leave this area blank. |
|
Visible |
(checkbox) If ticked, cohorts can be seen by users in underlying courses. The default setting is enabled, if you do not want users in underlying courses to see these cohorts, you can disable this setting. |
|
Description |
You can describe what the cohort is all about here, Otherwise, can be left blank. |
Step 6: Once done filling in the fields, scroll to the bottom of the page and select Save Changes.
You have successfully created a cohort.
Assign Users to a Cohort
To add users to an existing cohort, follow the steps below:
Step 1: From the Home Page, Login using your Admin credentials.
Step 2: Once logged in, click the Site Administration on the menu bar.
Step 3: Select Users, then Cohorts.
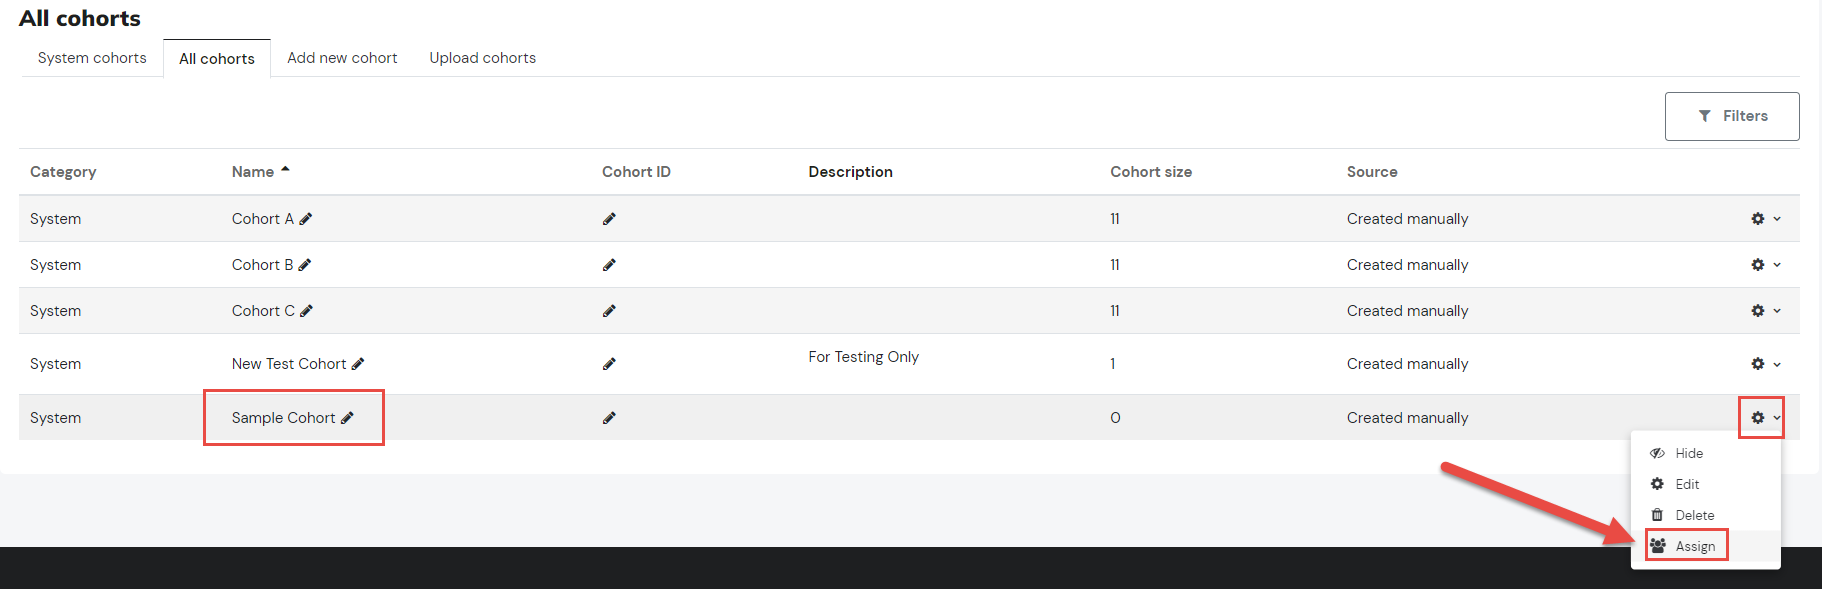
Step 3: Search for the cohort you want to add users to. You can also click on 'All cohorts' tab to view the list of all available cohorts for the site.

When a site has a large number of cohorts, keywords may be entered into the Search Cohorts box to search for or filter the available cohorts.
Step 4: After choosing a cohort, Click on the gear icon for the settings to hide, edit, delete and assign. Choose Assign.
Step 5: Select the user/s that you’d like to add to the cohort from the Potential Users List, then select Add.
Tips: You can select multiple users by holding the Ctrl key on your keyboard while clicking on the users from the potential users list.
The added user/s will now appear in the Current Users List
You have now assigned user/s to a new or existing cohort.
Removing users from a cohort may result in unenrolling of users from multiple courses which includes deleting of user settings, grades, group membership and other user information from affected courses.
Related Articles
How to Create a Cohort for a Qualification Using Categories and Assign Users to a Category Cohort v2
Note: You need an Admin or a Manager access before you can perform this action. In this tutorial we will be looking at how to create category cohorts and assign users. This assumed that you have created a category for your units. If you haven't done ...Assign User Roles to Cohort (Assign a Cohort Manager v1)
You need Admin access to be able to perform this action. An administrator can upload multiple cohorts from a CSV (comma separated values) formatted text file in Administration > Site administration > Users > Accounts > Cohorts > Upload cohorts. ...Bulk Upload Users to a Cohort v2
You need LMS Admin access to be able to perform this action, Bulk uploading users to cohort via .CSV file will allow you to add multiple users to one or more cohorts. This tutorial will help you do this step by step: Important: We strongly recommend ...Create a New User v2
Guide on creating an individual user An administrator or manager can create new user accounts in Site administration Step 1. Select Users under Site Administration Step 2. Select Accounts under Users to access Add a new user. Step 3. Fill out all ...How to Assign Users to a Group v2
Note: You need Teacher or Manager access before you can perform this action. Go to How to Create a Group, if you want to learn more about group creation within a course. Below are the steps to assign users to an existing group within a course, Step ...