How to Add Course Dedication Block and Generate Report v2
 Note: You need a Teacher or Manager access before you can perform this action.
This block allows to see the estimated dedication time to a Moodle course by the participants of the course.
How dedication time is estimated?
Time is estimated based in the concepts of Session and Session duration applied to Moodle's log entries:
- Click: every time that a user access to a page in Moodle a log entry is stored.
- Session: set of two or more consecutive clicks in which the elapsed time between every pair of consecutive clicks does not overcome an established maximum time.
- Session duration: elapsed time between the first and the last click of the session.
Teachers can use a tool to analyse dedication time within a course. The tool provides three views:
- Dedication time of the course: calculates total dedication time, mean dedication time and connections per day for each student.
- Dedication time of a group: the same but only for chosen group members.
- Dedication
of a student: detailed
sessions for a student with start date & time, duration and IP.
Step 1: Log into Moodle and open the course where you would like to
add course dedication block.

(Note: Ensure that editing is turned on.)
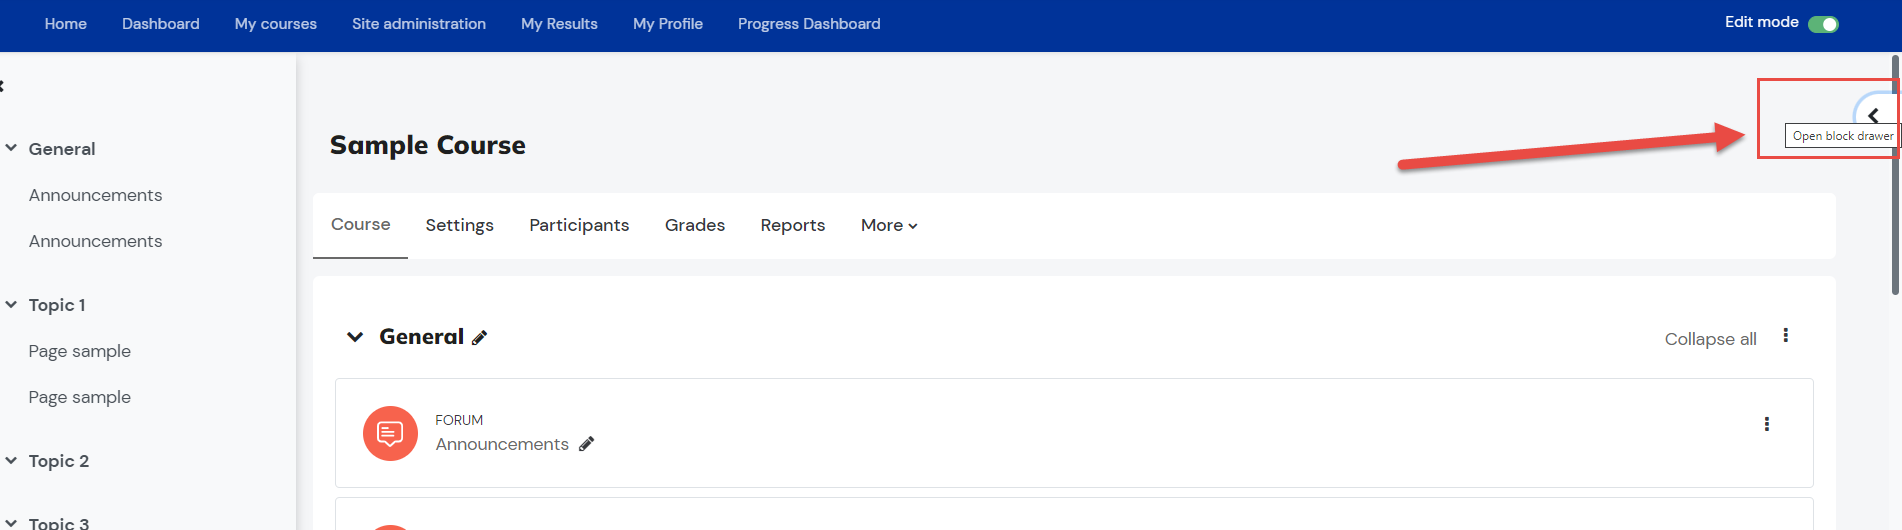
Step 2: On the course page, open block drawer at the right side.
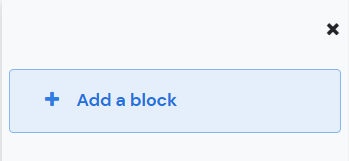
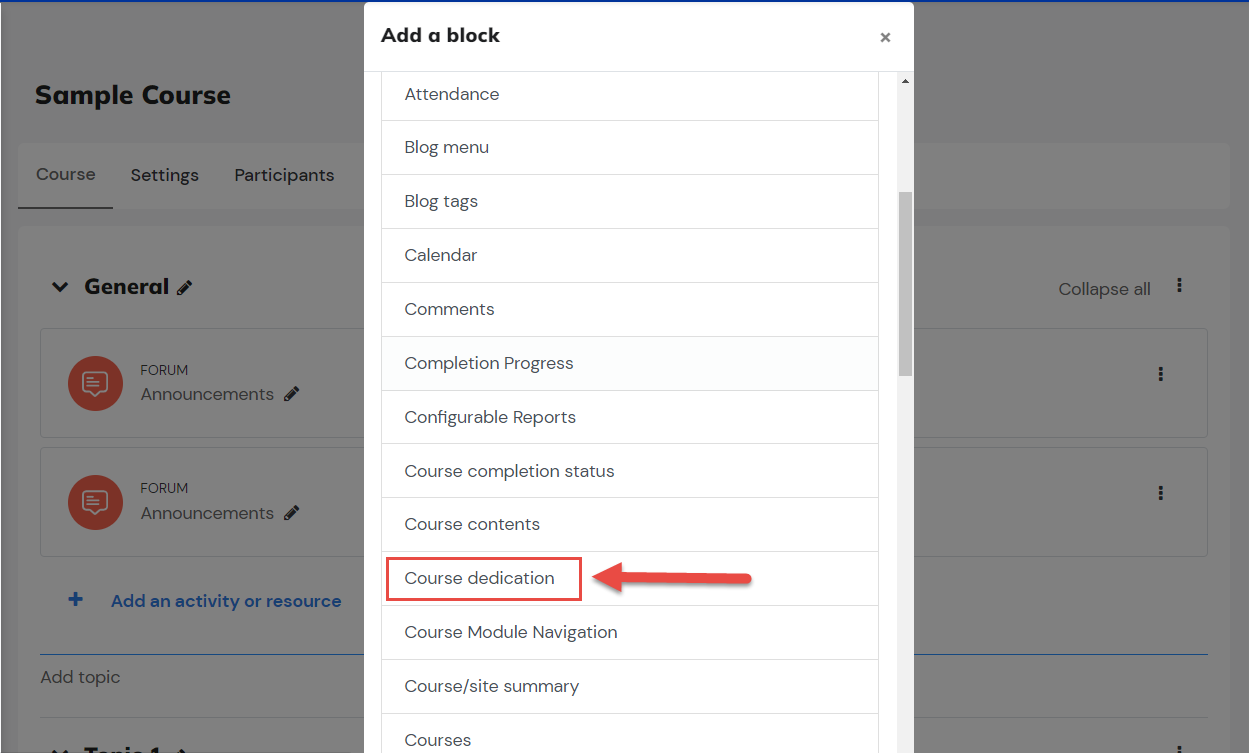
Step 3. Once the block drawer is opened, click the option 'Add a block'. Click the drop-down menu and choose Course Dedication.
Now, you have your course dedication block.
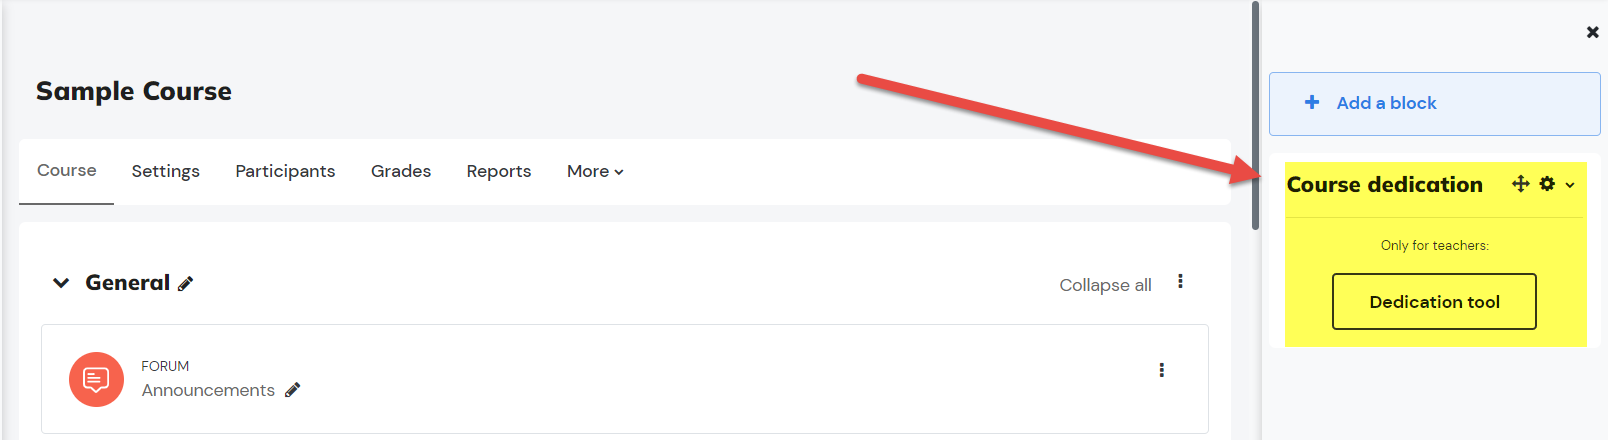
Now, you have your course dedication block.
Step 4: To generate report, click the 'Dedication tool' and configure by selecting the range of dates you prefer to be calculated. Once done, click Calculate.
Step 5: Below is the sample Course Dedication Report of a certain course unit. To generate an excel report, click the "Download an Excel Format" button.
- To calculate Dedication time of a group click the group of users you preferred and repeat Step 3 and 4.
- To calculate Dedication of a student click the name of user and repeat Step 3 and 4.