How to Edit Course Format v2

You need LMS Admin or Trainer access to be able to perform this action.
What is Course Format?
A Course Format refers to the layout of a course. The course format can be selected in Administration > Course administration > Edit settings. This guide covers the available course formats:
Topics Format
The Topics format is the most common Moodle Course Format. Topics are sections of content which are laid out similar to chapters of a book. Each topic section may contain activities, resources and labels. This is the default course format.
How to Set-Up Topics Format in LMS
Step 1: From the Home Page, Login using your Admin credentials.
Step 2: Search for the course you want to edit the course format, then click the course title to access the course.
Step 3: Click the 'Settings' on the course page.
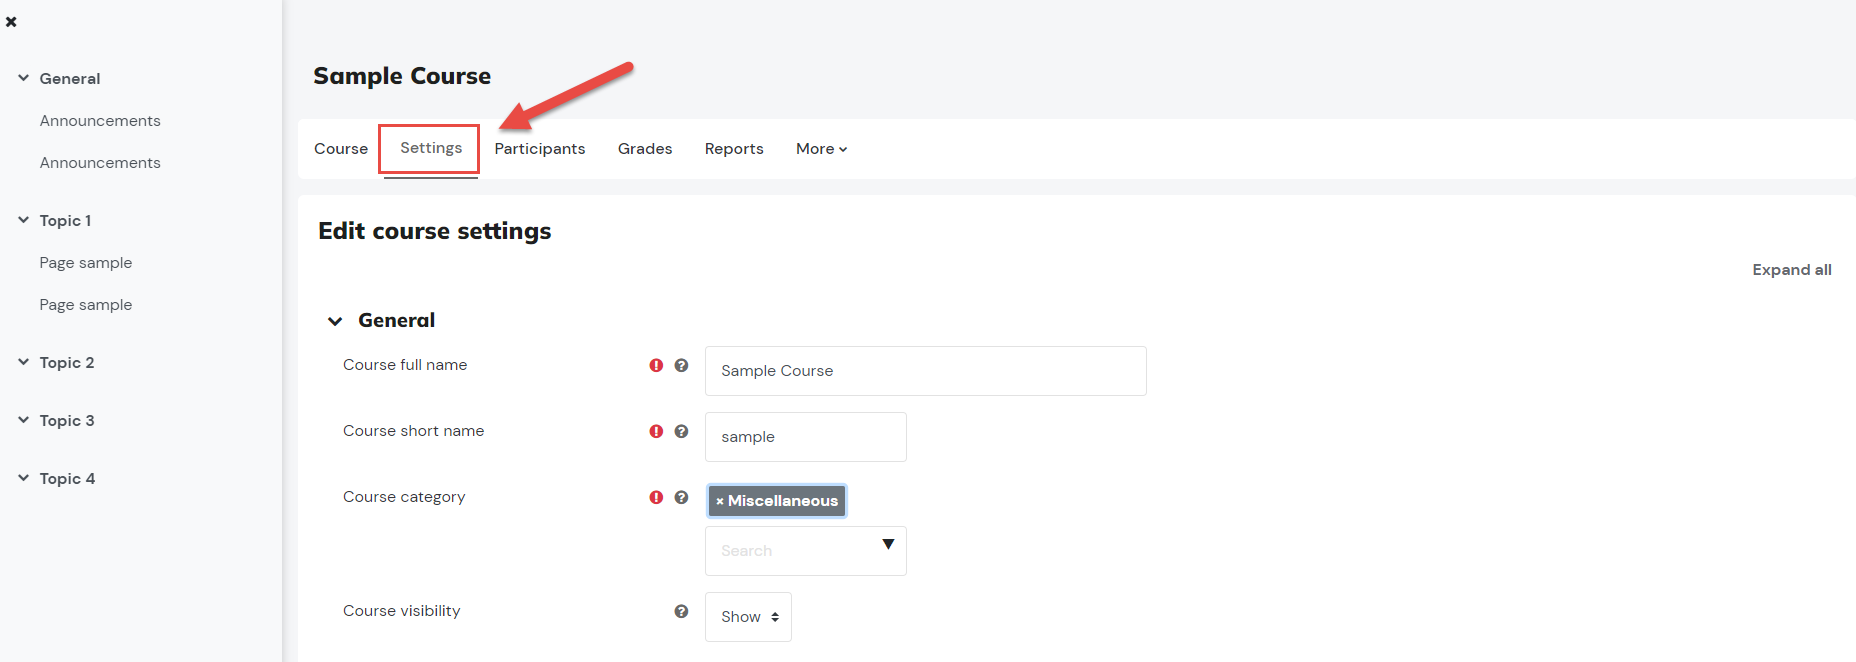
Step 4: Scroll down to Course Format. Select Topics format from the drop-down menu.
Step 5: Click Save and Display.
This is the Topic Format of the Course with the Topic Index at the left side.
Tiles Format
A course format which displays course topics as "Tiles", in a grid rather than as a list. When clicked, tile content is displayed under the tile with an animated transition. The layout adapts to different screen sizes and orientations. Within each tile, activities can also be set to display as "sub-tiles". For each tile, the teacher can pick an icon from a predefined set, or upload a background photo.
How to Set-Up Tiles Format in LMS
Step 1: Click the 'Settings' on the course page you desire to change course format into tiles.
Step 2: Scroll down to Course Format. Select Tiles format from the drop-down menu.
Step 3: Additional setup for Tiles format will show, you may now choose your desired icon and color or set the other setting like the Progress on each tile. Click Save and Display when done.
This is the Tiles Format of the Course.
Grid Format
A modular and visual course format. Hides all topics and creates a grid of icons (one for each topic) with short titles. Clicking on an icon brings up the content from the corresponding topic.
How to Set-Up Grid Format in LMS
Step 1: Click the 'Settings' on the course page you desire to change course format into grid.
Step 2: Scroll down to Course Format. Select Grid from the drop-down menu.
Step 3: Additional setup for Grid format will show, you may also set the number of sections here. Click Save and Display when done.
Step 4: On the Course page, you have the option to add an image that depicts the section. To do this, click the the change the image hyperlink. (Don't forget to toggle 'Edit mode'.
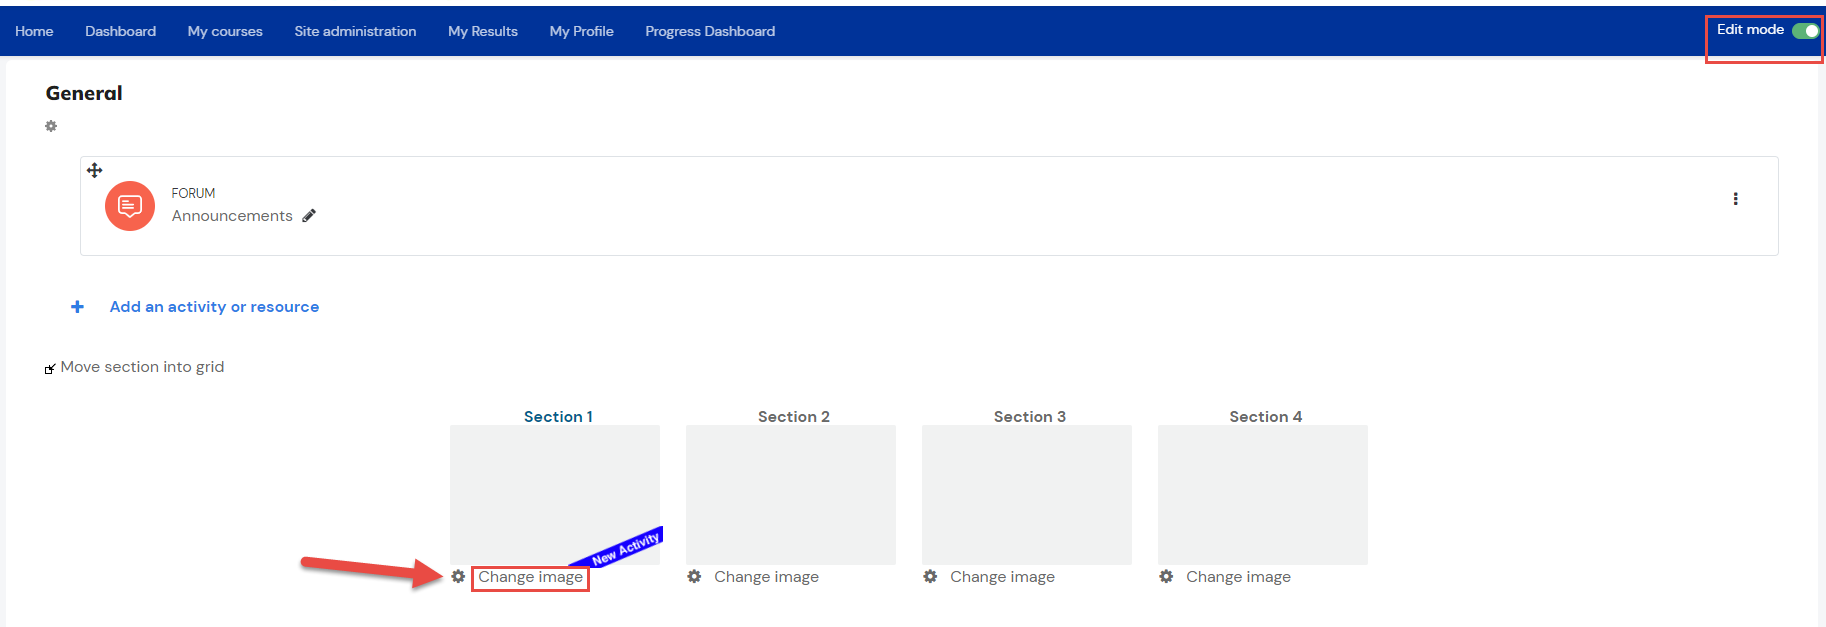
Step 8: Drag and drop your desired photo for the section.
This is the Grid Format of the Course.
Related Articles
Course Settings v2
You need Teacher or Manager access before you can perform this action and see below information. These are the various fields to fill out when creating or editing a course. If you are editing a course, you can review the course settings and edit ...How to Edit a Course v2
Overview Editing a course in Moodle enables administrators to customise content, structure, and settings to optimise the learning experience. It offers flexibility to update course materials, add interactive activities, and organise resources in line ...How to Add a Course v2
Overview There are several ways you, as an admin, can create a course in the Learning Management System (LMS). One of these options is to create a new, empty course. In this tutorial, we will guide you through the process of adding a course, step by ...How to setup Course Completion on your Course
Course completion Course completion shows if a course has been completed. It can show the progress a student is making towards finishing the course according to specific criteria. The criteria can include meeting an activity's grade level or a manual ...How to Edit Your Moodle Profile v2
Every user has a personal profile page in Moodle. This page allows you to post your picture, add a personal statement, and other information you would like your peers, students, or classmates to see. Adding a profile picture 1. In the upper right ...