How to Setup a Book Resource v2

Note: You need Teacher or Manager access before you can perform this action.
The book module enables a teacher to create a multi-page resource in a book-like format, with chapters and subchapters. Books can contain media files, as well as text and, are useful for displaying lengthy passages of information that can be broken down into sections.
A book may be used
- To display reading material for individual modules of study
- As a staff departmental handbook
- As a showcase portfolio of student work
To add a Book Resource within a course page follow the steps below:
Step 1: To start making changes on your course page, click on the toggle to turn Edit Mode on.
Step 2: Once the edit mode is activated, you can either choose to edit an existing topic or add a new one.
Adding a topic:
Step 3: Click on Add an activity or resource.
Step 4: Click Book from the list of Activities.
Step 5: Fill out the information needed and adjust the settings for the Book Resource.
| Name* |
(Mandatory field) enter the name of the Book Resource activity in the Name text box. |
| Description |
Enter the relevant description in the "Description" text area that describes the Book if needed. |
| Display description on course page |
(checkbox) If enabled, the description of this activity will be shown on the course page. |
|
Chapter formatting
|
There are four options available:
• None - chapter and subchapter titles are not formatted at all, use if you want to define special numbering styles. For example letters: in chapter title type "A First Chapter", "A.1 Some Subchapter",...
• Numbers - chapters and subchapters are numbered (1, 1.1, 1.2, 2, ...)
• Bullets - subchapters are indented and displayed with bullets.
• Indented - subchapters are indented.
|
|
Style of navigation
|
There are three options available:
• TOC (Table of Contents) only
• Images
• Text
|
|
Custom titles
|
(checkbox) Enable custom titles if you do not require chapter titles to be displayed. A different title will be used.
|
| Availability |
The availability option permits students to view and access assignments and resources, there are two options available:
• Show on course page
• Hide from students
|
| ID number |
The ID number can be entered to reference the same ID number from a third-party package especially gradebook. Otherwise, the field may be left blank. |
Teachers may restrict students from accessing lessons and resources based upon a set of conditions. These conditions may be based on whether an activity has been completed or not, date restrictions when lessons can commence, a specified grade to be achieved, a certain user profile, or a set of nested restrictions based on the below settings.
Restrictions can be one, two or all of the following criterion:
| Completion tracking |
There are three options available:
• Do not indicate activity completion
• Students can manually mark the activity as completed
• Show activity as complete when conditions are met
|
| Require view |
(checkbox) If enabled, student must view this activity to complete it. |
| Require grade |
(checkbox) If enabled, student must receive a grade to complete this activity. |
| Require entries |
(checkbox) If enabled, you need to set how many entries students need to make to be tagged as completed. |
| Expect completed on |
This setting specifies the date when the activity is expected to be completed. |
| Tags |
Tags will allow students and teachers to connect to other courses and content being offered. |
Competencies will not be available unless they have been set up at a course level. Administrators can set up competency frameworks and add competencies within the framework. Teachers can also add competencies to courses and course activities.
| Course competencies |
Course competencies allow you to search for competencies that you’d like to link to your existing activity. |
| Upon activity completion |
There are four options to select once an assignment has been completed:
• Do nothing
• Attach evidence
• Send for review
• Complete the competency
|
Step 6: Once everything is set, click Save and return to course.
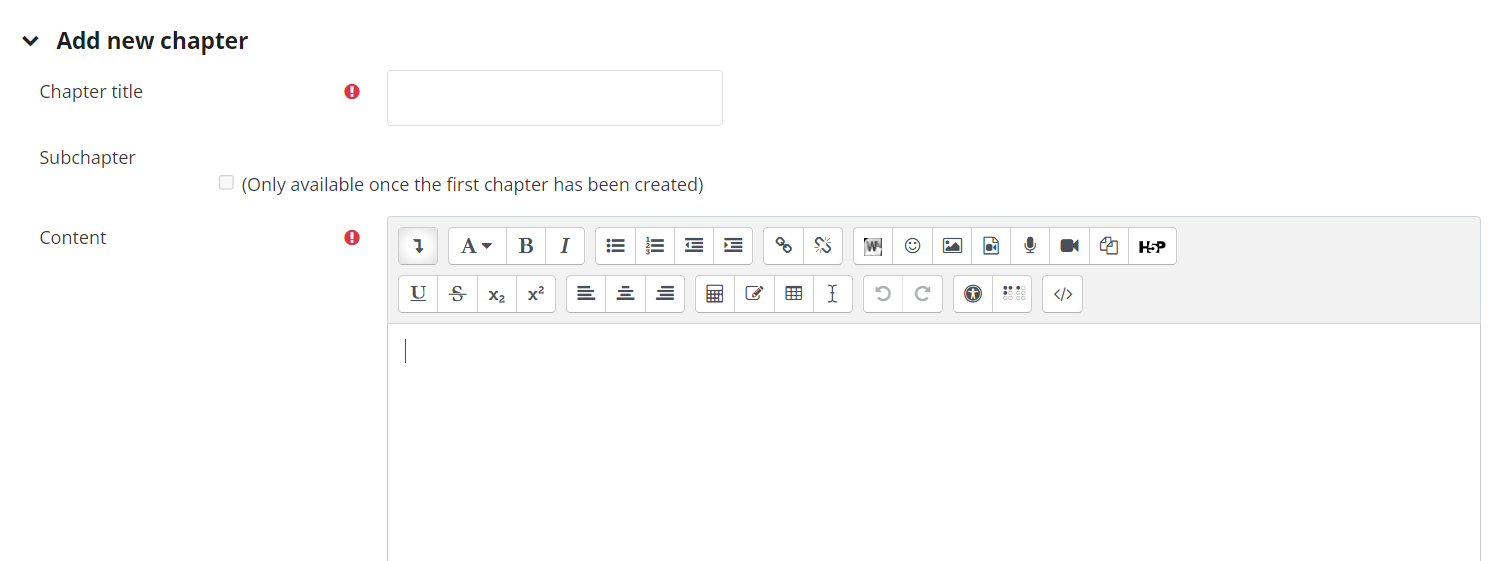
Step 7: You can now add the content for the Book per Chapter. Click Save Changes.
Step 8: This is how it will look when viewed.
Step 8: This is how it will look when viewed.
Related Articles
How to Setup a Page Resource v2
Note: You need Teacher or Manager access before you can perform this action. The page module enables a teacher to create a web page resource using the text editor. A page can display text, images, sound, video, weblinks and embedded code, such as ...How to Setup a Folder Resource v2
Note: You need Teacher or Manager access before you can perform this action. The folder module enables a teacher to display a number of related files inside a single folder, reducing scrolling on the course page. A zipped folder may be uploaded and ...How to Setup a File Resource v2
Overview A file resource allows administrators to upload important documents and media with students in a structured and accessible way. Common file types include PDFs, Word documents, presentations, images, and videos. This resource type is ideal ...How to Setup a URL Resource v2
Note: You need Teacher or Manager access before you can perform this action. The URL module enables a teacher to provide a web link as a course resource. Anything that is freely available online, such as documents or images, can be linked to; the URL ...How to setup an IMS Content Resource v2
Note: You need Teacher or Manager access before you can perform this action. An IMS content package is a collection of files which are packaged according to an agreed standard so they can be reused in different systems. The IMS content package module ...