How to Create a Group v2

Note: You need Teacher or Manager access before you can perform this action.
Below are the steps to create a group within a course:
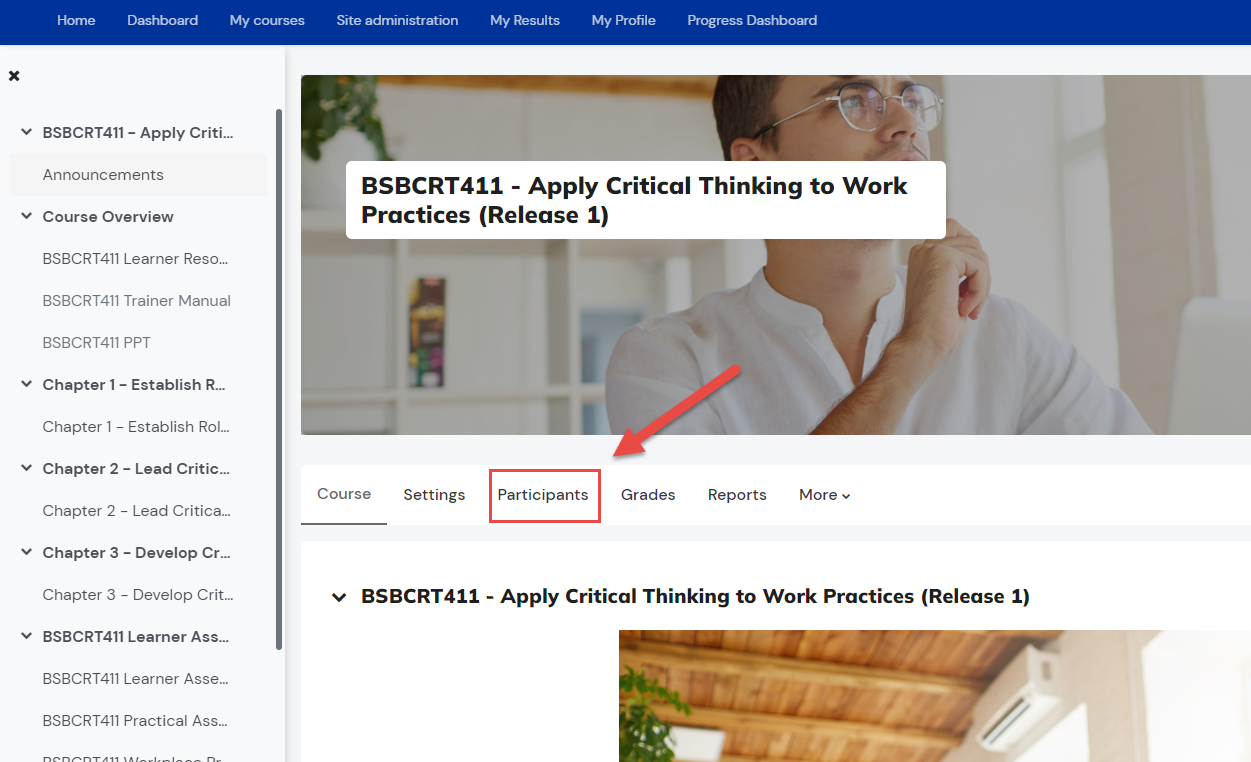
Step 1. Enter the course you want to create the group within.
Step 2. Click on the 'Participants' on the course menu bar.
Step 3. Select the Groups in the dropdown option of Enrolled Users.

Note: If you are not able to see this option, make sure to unenroll your Admin role first before creating a group.
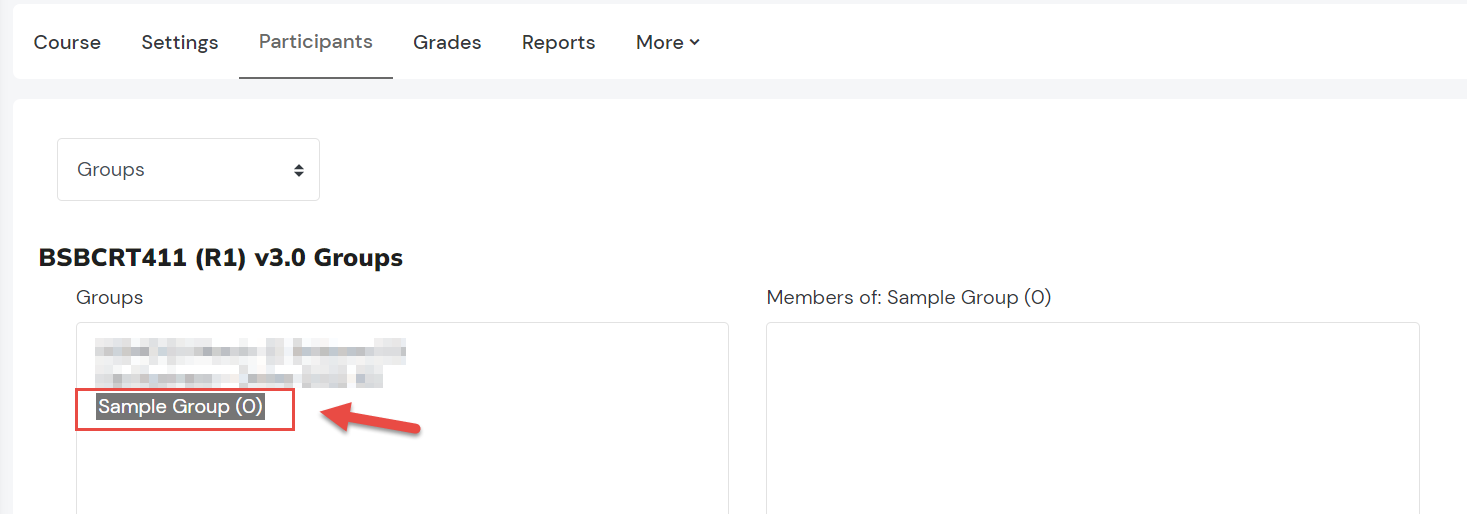
Step 4. Select Create Group option below.
Step 5. Fill out the details and desired settings for the group.
General
Group Name | Enter the name of the group |
Group ID Number | The ID number of group is only used when matching the group against external systems and is not displayed anywhere on the site If the group has an official code name it may be entered, otherwise the field can be left blank. |
Group Description | Add a description for the group. Otherwise, this field can be left blank. |
Enrolment Key | An enrolment key enables access to the course to be restricted to only those who know the key. If a group enrolment key is specified, then not only will entering that key let the user into the course, but it will also automatically make them a member of this group. Note: Group enrolment keys must be enabled in the self enrolment settings and an enrolment key for the course must also be specified. |
Group Messaging | If enabled, group members can send messages to the others in their group via the messaging drawer. |
New Picture | Select an image in JPG or PNG format. The image will be cropped to a square and resize to 100x100 pixels. |
The group was successfully created and is now visible in the Groups field.